User and Programmers Guide
Introduction
This document describes the user and programming guide for Keyrock Identity Management component. Here you will find the necessary steps for use the Keyrock portal for create an account and manage it. You will also learn about role and applications management.
This User and Programmers Guide relates to the Identity Management GE.
Using the web portal of KeyRock
Although every user of KeyRock will access the web portal with individual credentials, the following description uses a test account. In every KeyRock instance the web portal can be accessed at **FIWARE Account Portal**.
Logging in
Go to “Sign in” if you heave previously created an account, otherwise “Sign up” to create a new account:
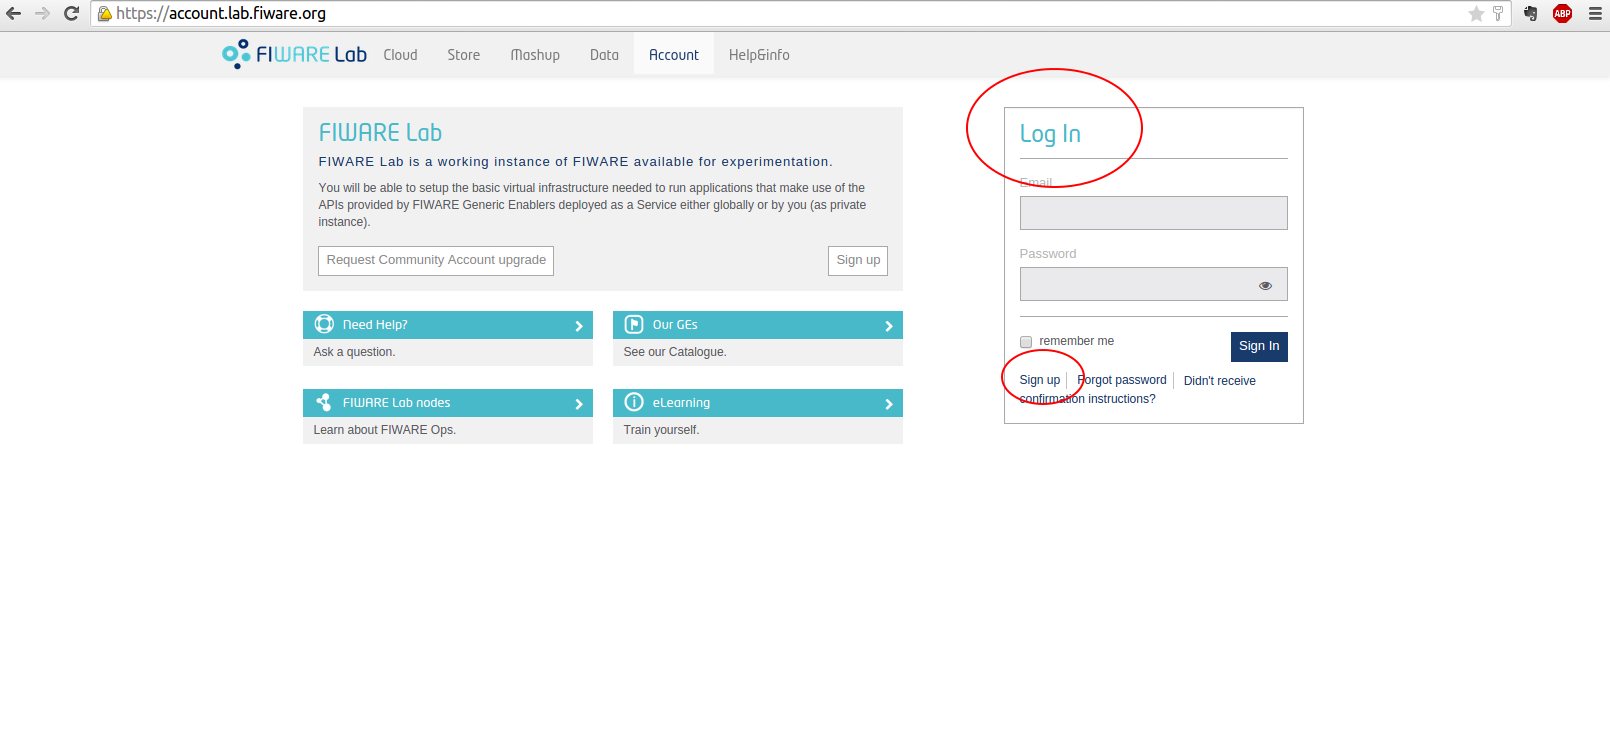
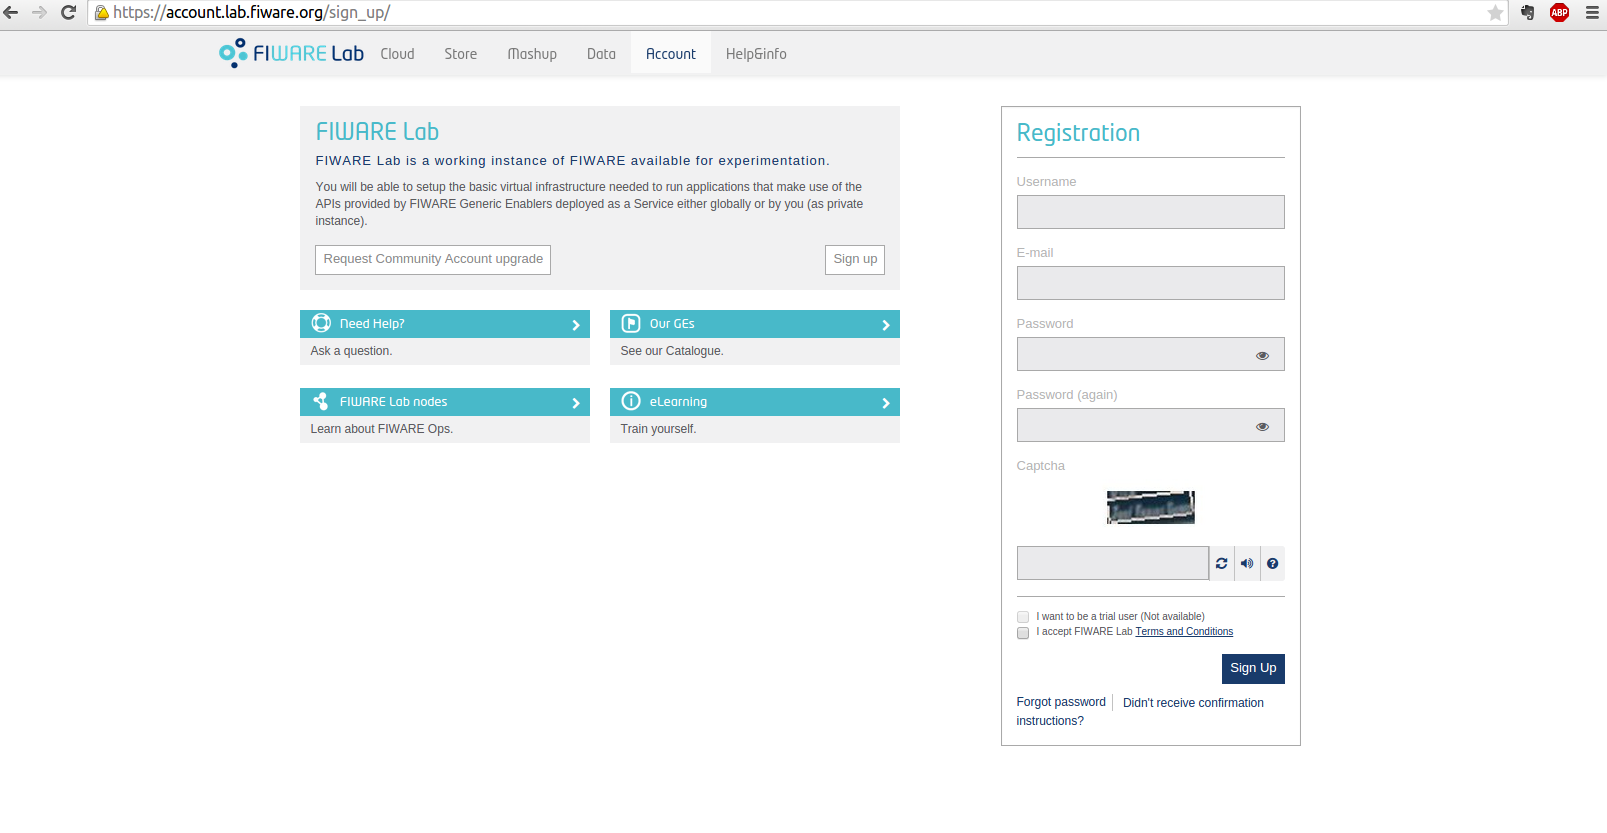
Figure 1: KeyRock Login Page
Figure 2 shows the homepage after you log in successfully.
There are two main sections, Applications and Organizations. In the Applications section you can register new application by clicking on “Register”.
Registering an application
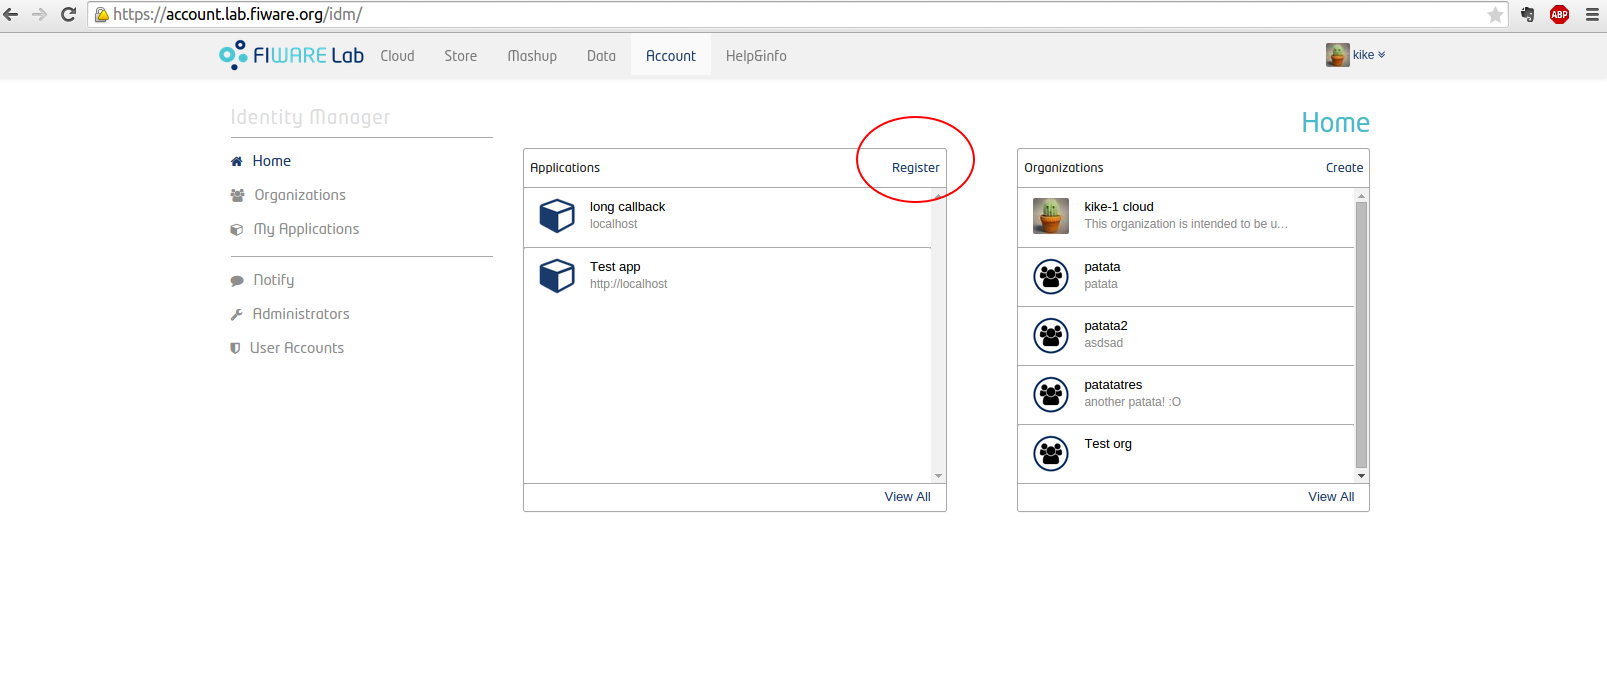
Figure 2: KeyRock Home Page
In the next step you have to give the application a name, description, URL and callback URL - required by the OAuth 2.0 Protocol.
Click on “Next” (Figure 3).

Figure 3: KeyRock Register Application
In the second step the application’s logo will be loaded by selecting a valid file type. You have the option to re-frame the chosen image.
Click on “Crop Image” when you complete this process and then click “Next” as shown on Figure 4.
Figure 4: KeyRock Edit Application Logo
In the third step we set up the roles and permissions of the application. You will find the two possible roles: Provider and Purchaser.
You can edit the permission for each of the roles or create new roles. Click on “New role” and write the name of role, after that click “Save”.
You can configure the permissions for the new role by activating the corresponding check box.
You are also permitted to add up new permissions by clicking on “New Permission”. Here you need to enter the name of the permission, description, HTTP verb (GET, PUT, POST, DELETE) and the Path to that permission, Figure 5.
Click “Create Permission” and “Finish” to finalize with creating the application.
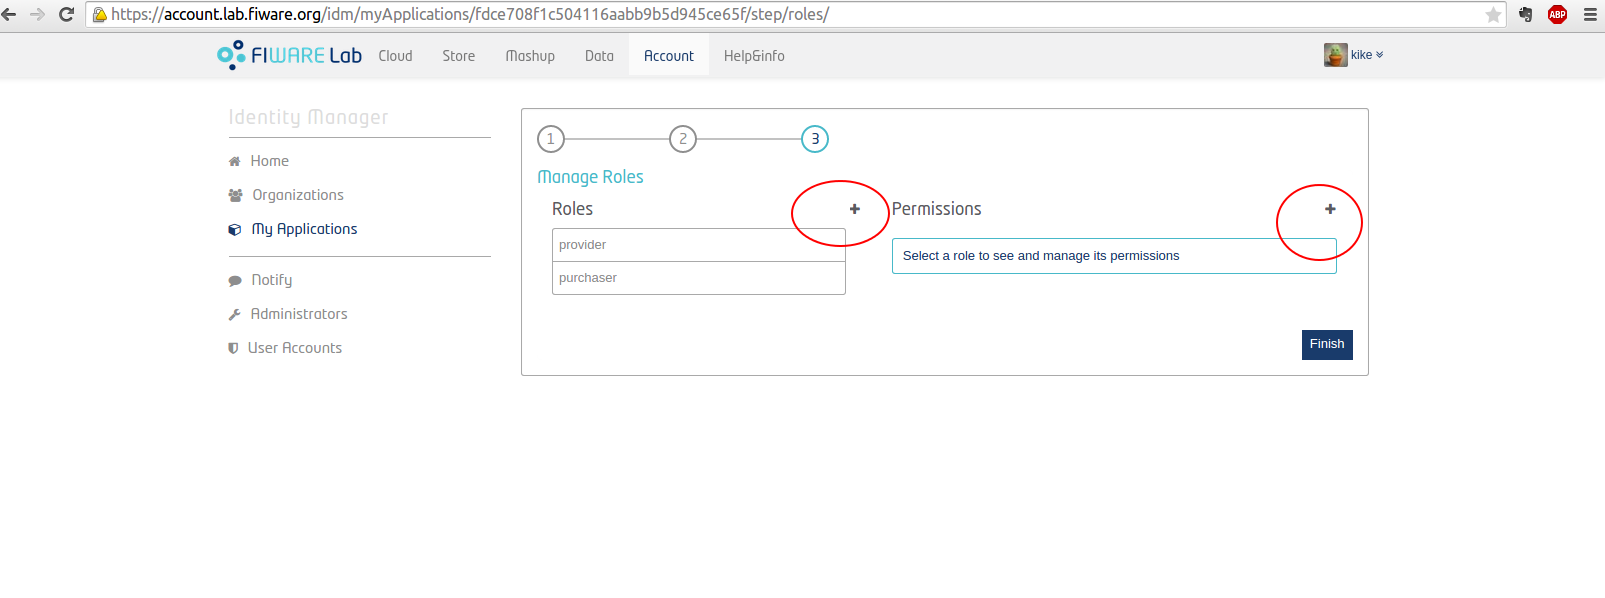
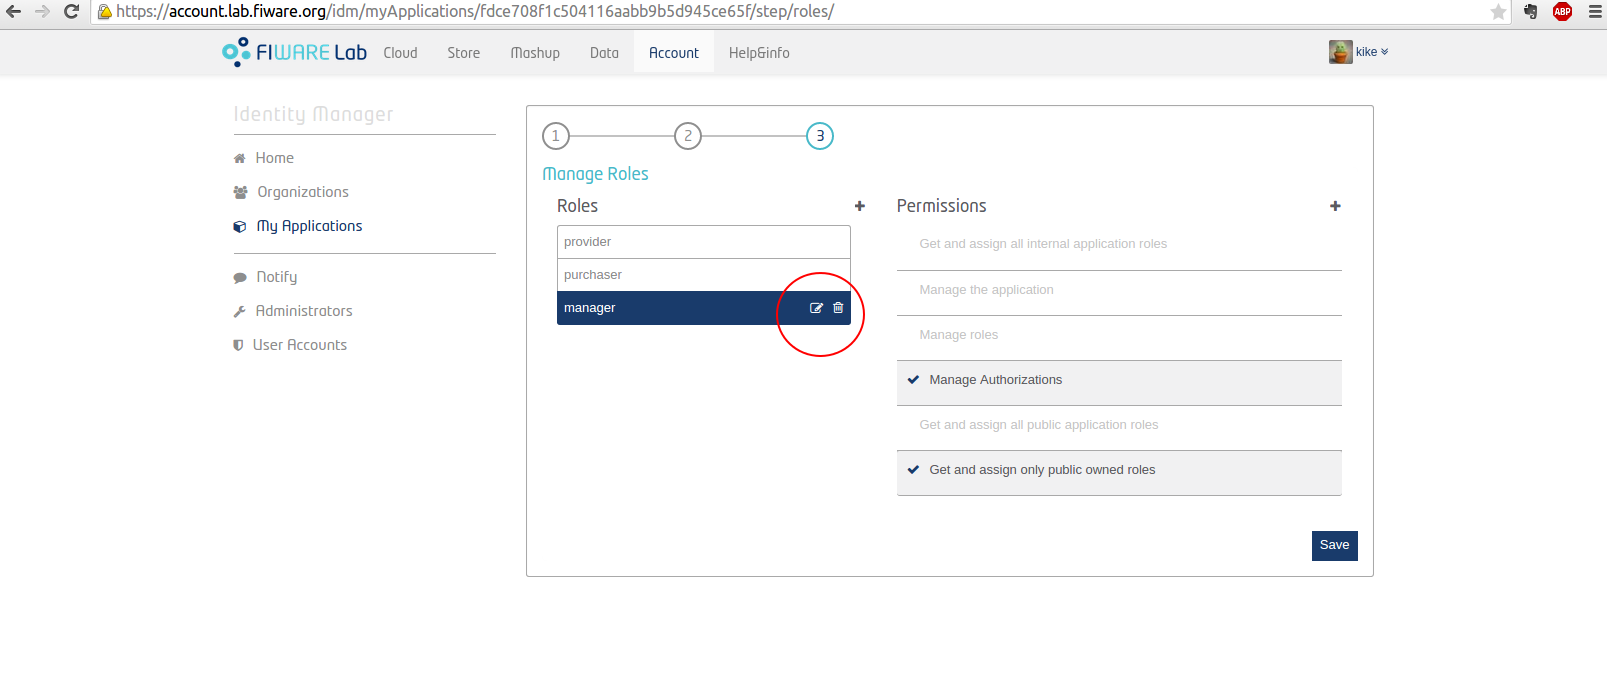
Figure 5: KeyRock New Roles and Permissions
Managing roles
Look at the vertical menu on the left (Figure 6). You went from Home to Applications. Here you can see the application you’ve just created.
At the bottom you can manage the roles of the users. You can add new users on the “Add” button.
It shows a modal where you can manage Users and Groups. You can see the users and their initially assigned roles.
Choose users and groups to add to the application, then choose their initial role. Click “Add”.
Note that you can assign roles after the users have been added, by clicking on the roles drop down menu - below the user’s icon, as shown on Figure 6.
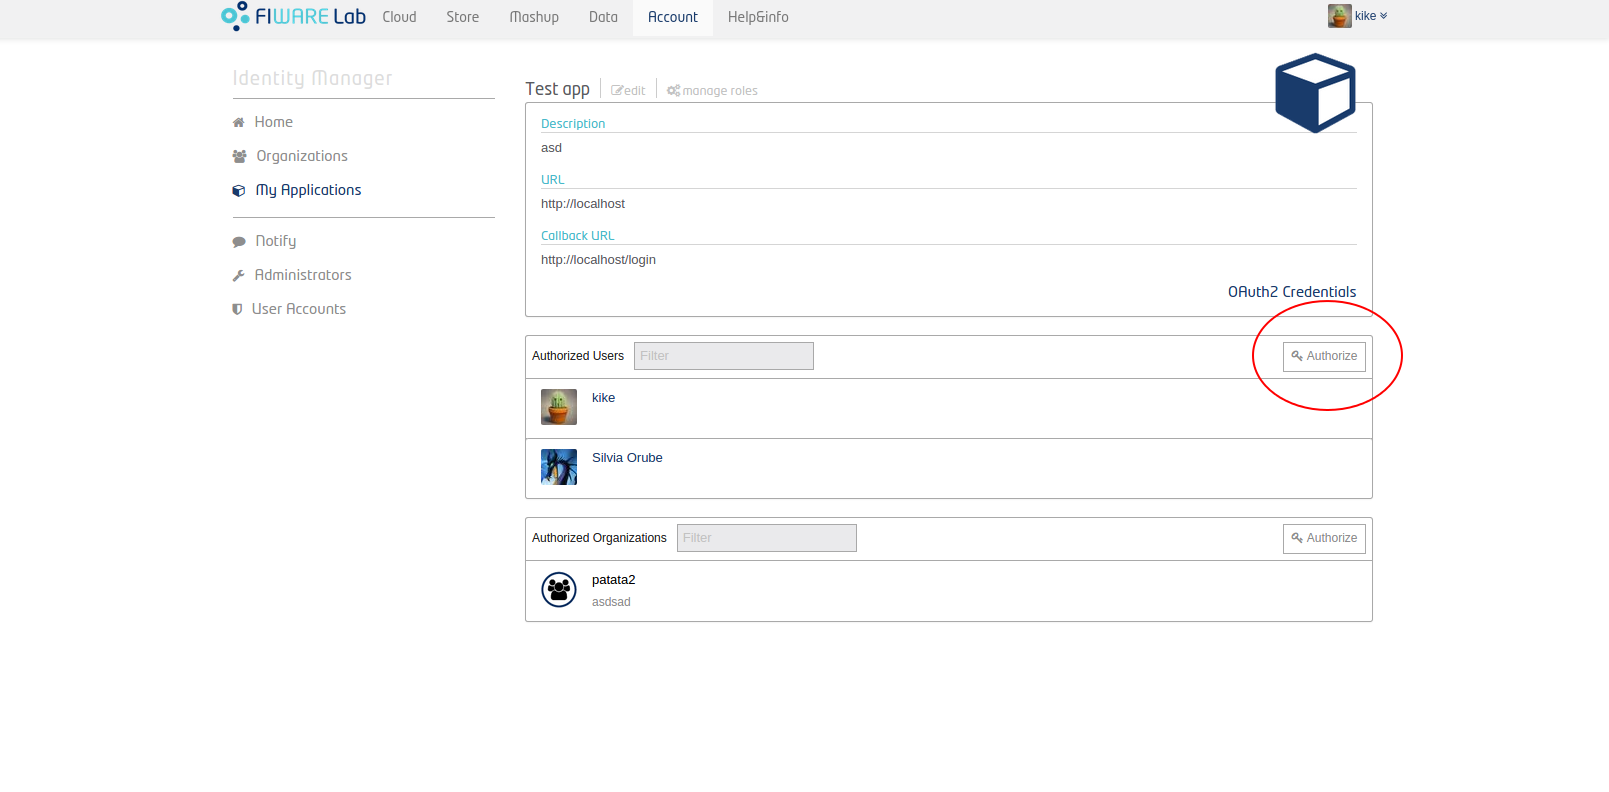
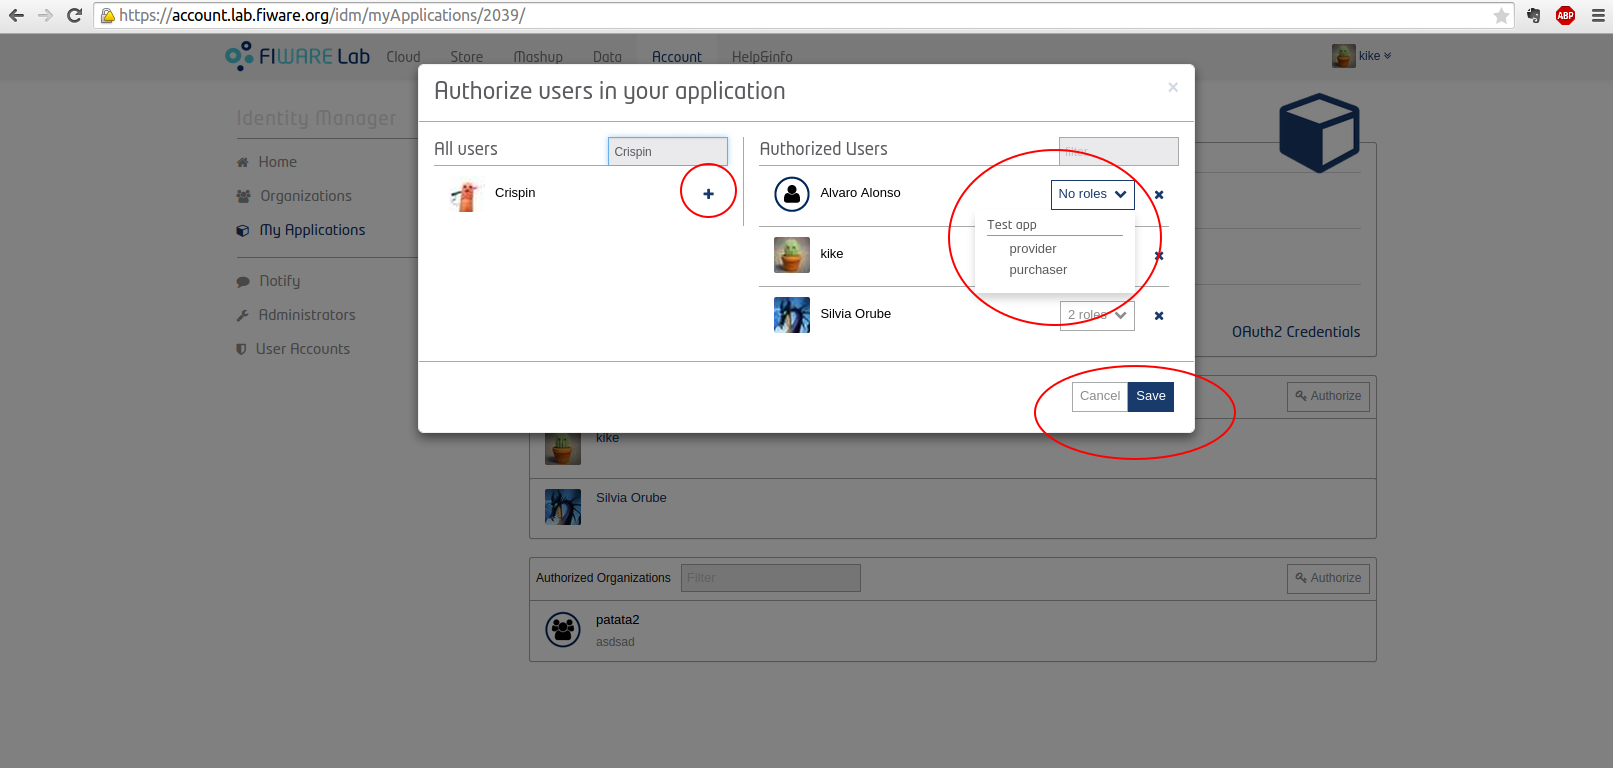
Figure 6: KeyRock Add Members to Application
Managing organizations
Next head on to the vertical menu and click “Organizations”. Click “Create Organization” to register a new organization.
Add the name, choose the owner and write the description of the organization. Click “Create Organization”.
You are now redirected to the Home menu on behalf of the newly created organization. Any new application created now, will belong to the organization.
To return to the home of the user go up in the header and click on the name of the organization. Select “Switch session”, Figure 7.
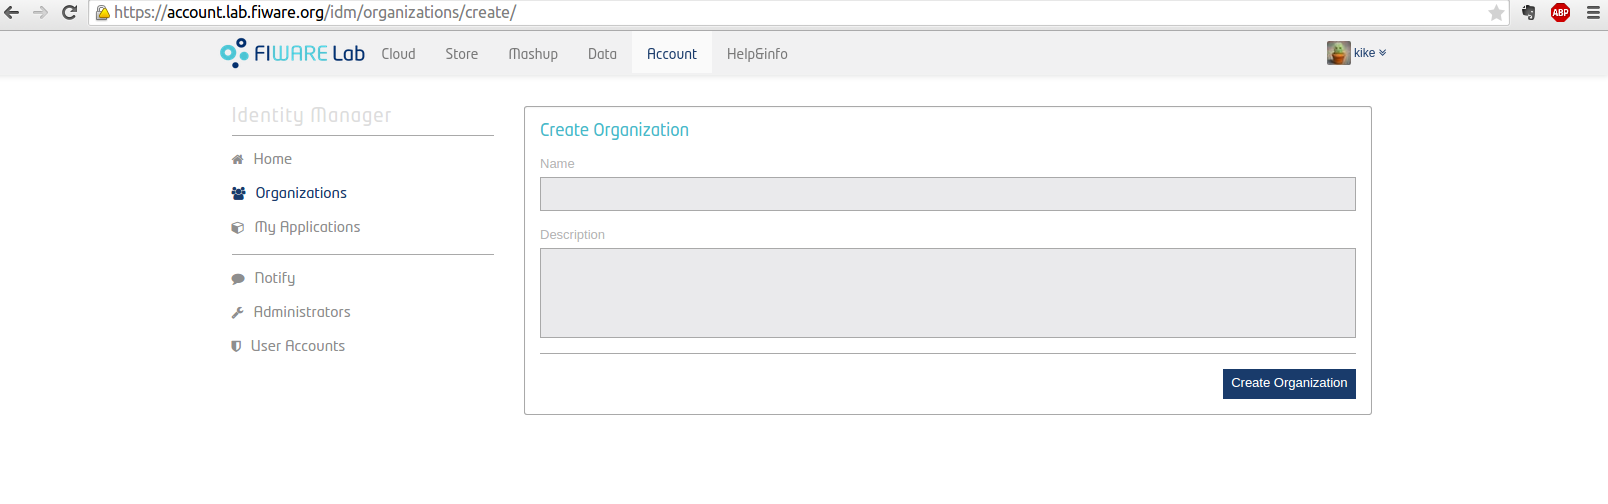
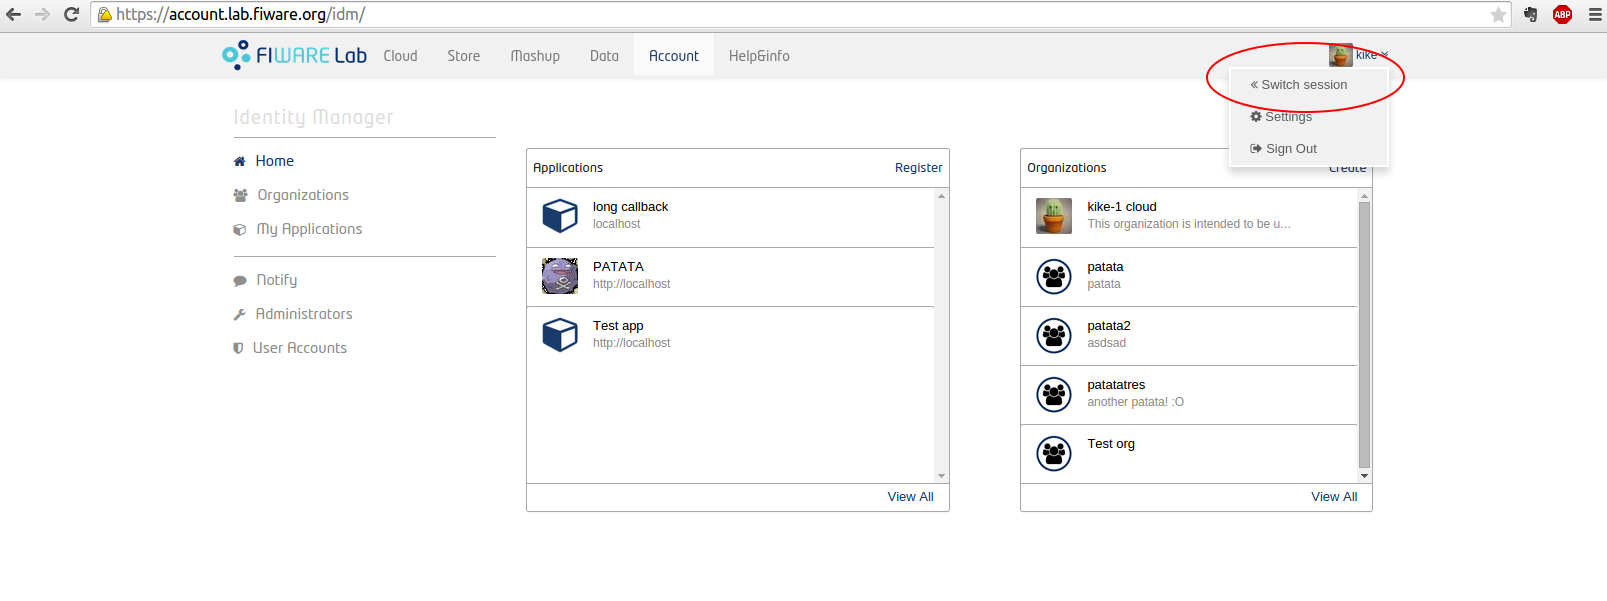
Figure 7: KeyRock Create Organization
Programmer Guide
Documentation on KeyRock APIs can be found at API Overview section
Users
Get a single user
Request:
GET /users/:id
Example response:
{
  "id": 1,
  "actorId": 1,
  "nickName": "demo",
  "displayName": "Demo user",
  "email": "demo@fiware.eu",
  "roles": [
   {
     "id": 1,
     "name": "Manager"
   },
   {
     "id": 7
     "name": "Ticket manager"
   }
  ],
  "organizations": [
   {
      "id": 1,
      "actorId": 2,
      "displayName": "Universidad Politecnica de Madrid",
      "roles": [
        {
          "id": 14,
          "name": "Admin"
        }
     ]
   }
  ]
}
Applications
Get applications from actor (user or organization)
Request:
GET /applications.json?actor_id=1&access_token=2YotnFZFEjr1zCsicMWpAA
Example response:
{
  "id": 1,
  "name": "Dummy",
  "description": "fiware demo application",
  "url": "http://dummy.fiware.eu/"
}
SCIM 2.0
Documentation on KeyRock APIs can be found at API Overview section. We provide bellow an example of API call, to retrieve the service provider documentation.
Get service provider configuration
Request:
GET /v2/ServiceProviderConfigs
Example response:
{
  "schemas": [
    "urn:scim:schemas:core:2.0:ServiceProviderConfig"
  ],
  "documentationUrl": "https://tools.ietf.org/html/draft-ietf-scim-core-schema-02",
  "totalUsers": "200",
  "totalOrganizations": "50",
  "totalResources": "250"
}
Further information
For further information on KeyRock, please refer to the step-by-step video at Help & Info Portal choosing “Account”, as `Figure 8`_ shows.
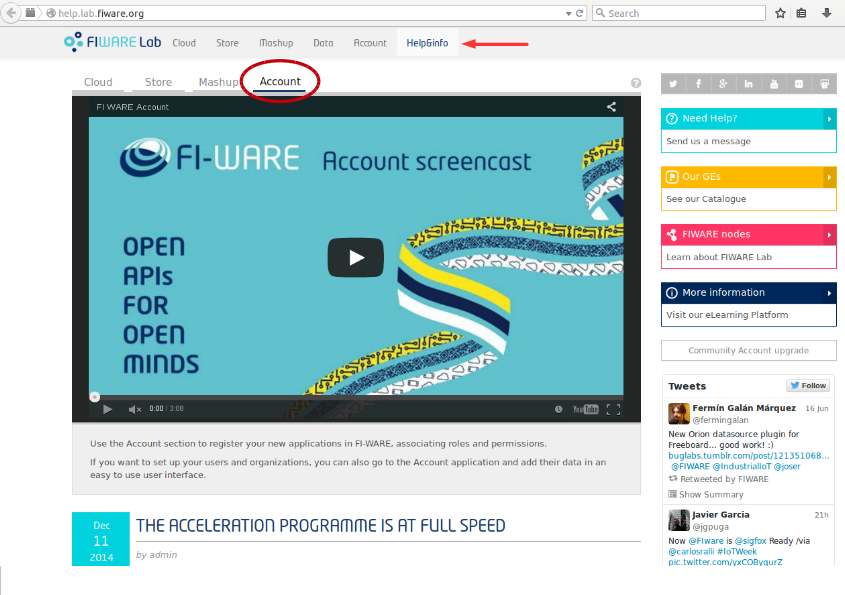
Figure 8: KeyRock Screencast